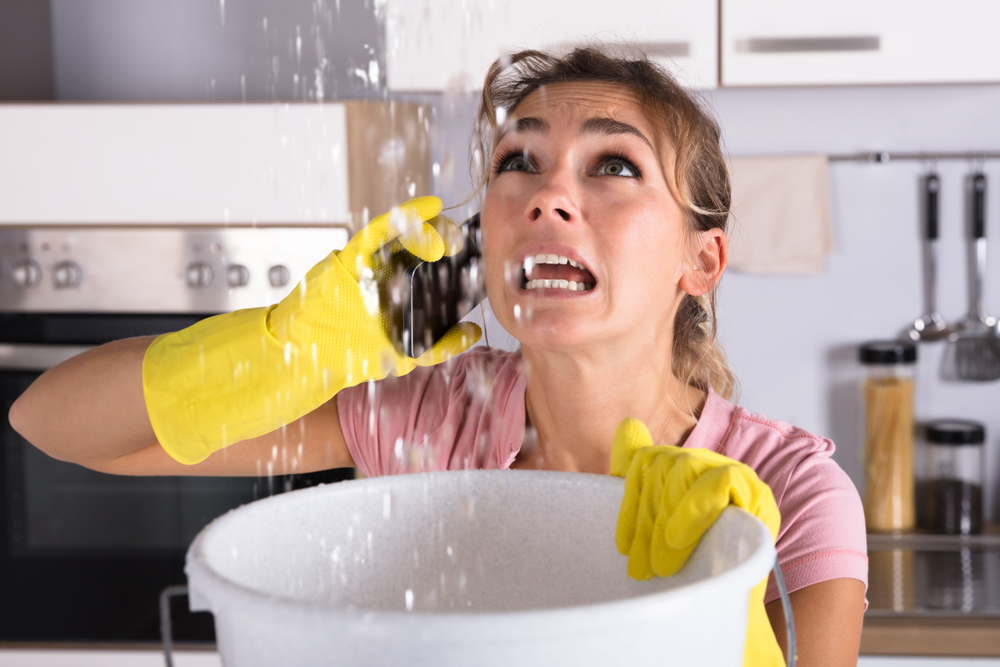
When water damage strikes your home or business, it’s essential to act swiftly and effectively to minimize the damage and prevent long-term issues such as mold growth and structural instability. One of the critical processes in water damage restoration is structural drying.
In this comprehensive guide, we’ll walk you through the seven vital steps to mastering structural drying. These steps are designed to help you understand the process, its importance, and how to protect your property effectively. From initial assessment to the final checks, each step plays a crucial role in ensuring the thorough and successful drying of your building.
So, let’s dive into the world of structural drying and equip you with the knowledge and strategies needed to safeguard your property from the devastating effects of water damage.
Step 1: Safety First - Assess the Situation
Before you begin the structural drying process, safety should be your top priority. Ensure that the affected area is safe to enter. Look for potential electrical hazards, structural damage, or any other safety concerns. If there are significant safety risks, do not attempt to enter the area; instead, consult with professionals who can assess and address the situation safely.
Once the area is deemed safe, you can proceed to assess the extent of the water damage. Identify the source of the water intrusion, whether it’s a burst pipe, flooding, or any other cause. Understanding the source helps you take appropriate measures to stop further water entry.
Step 2: Remove Excess Water
The next step is to remove as much excess water as possible. This can be done using pumps, wet-dry vacuums, or other water extraction equipment. The goal here is to eliminate standing water, making it easier for the structural drying process to be effective.
Make sure to focus on areas that are prone to water pooling, such as basements, crawlspaces, and low-lying areas. Thoroughly extract water from carpets, flooring, and any other affected surfaces.
Step 3: Assess the Damage
With the excess water removed, it’s time to assess the damage to your building’s structure and contents. This involves a thorough inspection of walls, ceilings, floors, and any affected materials. Look for signs of water damage, including discoloration, warping, or sagging.
Document the extent of the damage through photographs and notes. This documentation will be valuable when dealing with insurance claims or professional restoration services. Understanding the scope of the damage is crucial for planning the structural drying process effectively.
Step 4: Controlled Evaporation - Air Circulation
Proper air circulation is key to expediting the drying process. Use fans and dehumidifiers to increase the rate of evaporation. Position fans strategically to create a cross-flow of air throughout the affected area. Dehumidifiers help remove moisture from the air, further accelerating the drying process.
In larger or more complex cases, industrial-grade drying equipment may be necessary to ensure thorough air circulation and moisture removal. Ensure that the indoor environment is well-ventilated to facilitate the release of moisture into the air.
Step 5: Monitor Humidity Levels
During the structural drying process, it’s essential to monitor humidity levels continually. The ideal indoor humidity range for efficient drying is typically between 30% and 50%. You can use a hygrometer to measure humidity levels accurately.
Adjust your dehumidifiers and ventilation systems as needed to maintain optimal humidity conditions. Monitoring humidity ensures that the air can absorb moisture efficiently, preventing secondary damage such as mold growth.
Step 6: Regular Checks and Adjustments
The structural drying process is not a one-size-fits-all solution. It requires regular checks and adjustments to ensure its effectiveness. Periodically assess the progress of drying by examining affected materials and measuring humidity levels.
If certain areas are drying faster than others, consider repositioning equipment or increasing airflow to balance the drying process. It’s essential to be patient and thorough during this phase, as rushing can lead to incomplete drying and potential future issues.
Step 7: Verify Complete Drying
The final step in mastering structural drying is verifying that the affected area is entirely dry. This involves a meticulous inspection of all materials and surfaces. There should be no signs of moisture or dampness remaining.
Utilize moisture meters and other testing equipment to confirm that moisture levels are within an acceptable range. Additionally, conduct a visual inspection to ensure that there are no visible signs of water damage.
Once you are confident that the area is thoroughly dry, you can proceed with any necessary repairs or restoration work. Keep in mind that complete drying is essential to prevent mold growth and ensure the long-term structural integrity of your property.

Mastering structural drying is not only about restoring your property after water damage but also about safeguarding it from future issues. By following these seven vital steps, you can protect your property, your investment, and the well-being of those who reside or work within it.
Remember that while some water damage situations can be addressed through DIY efforts, more extensive or severe damage may require professional assistance. When in doubt, it’s advisable to consult with experts who specialize in water damage restoration to ensure that your property is thoroughly and effectively dried, preventing potential long-term consequences.


